How to start using CyOps Desktop
After your API key is configured, you can create a project, choose a work mode, and submit a requirement.
Step 1. Create a project
Local creation
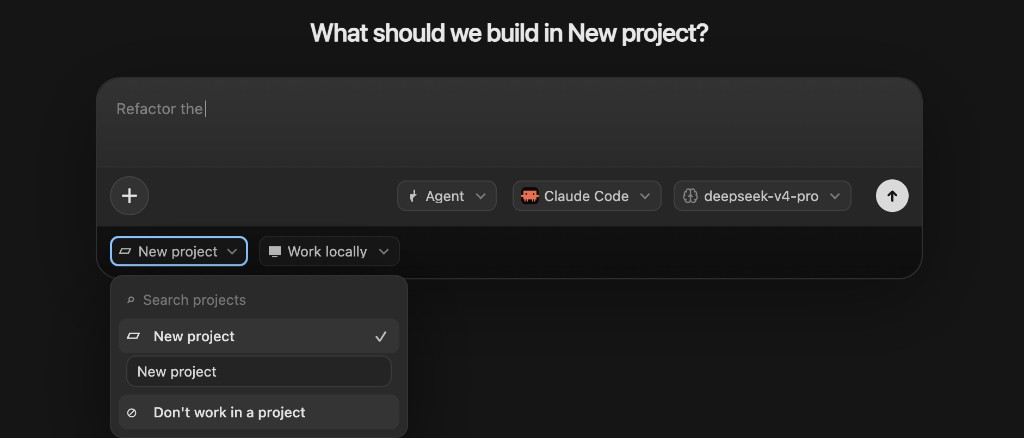
Use the project selector under the input box to create or switch to a project. Keep Work locally when you want to work in a local workspace.
GitHub-linked creation
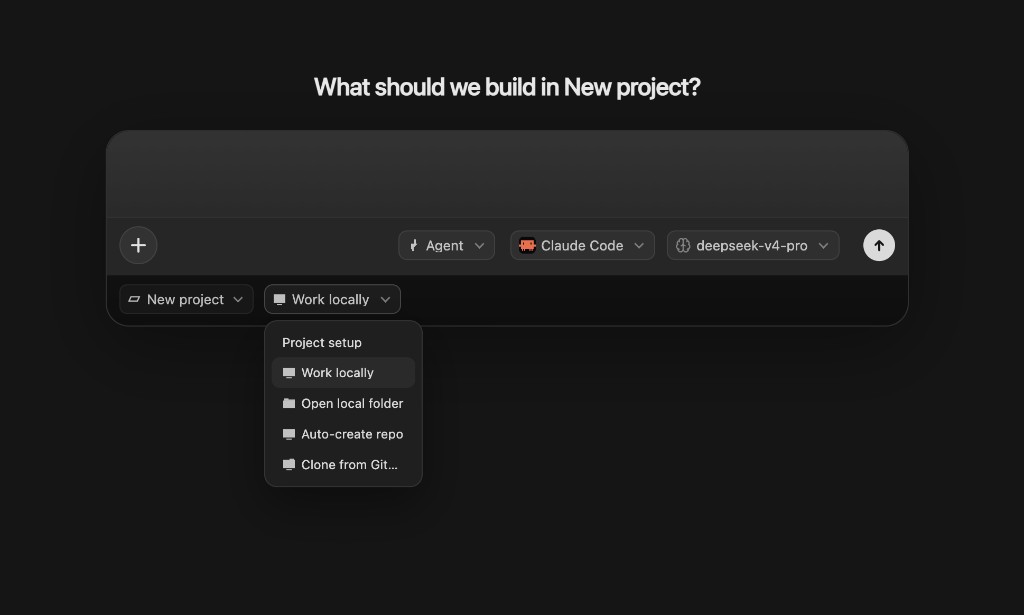
Open the Project setup menu next to the project selector. Besides Work locally, you can choose Open local folder, Auto-create repo, or Clone from Git... to start from a Git repository.
Step 2. Choose a work mode
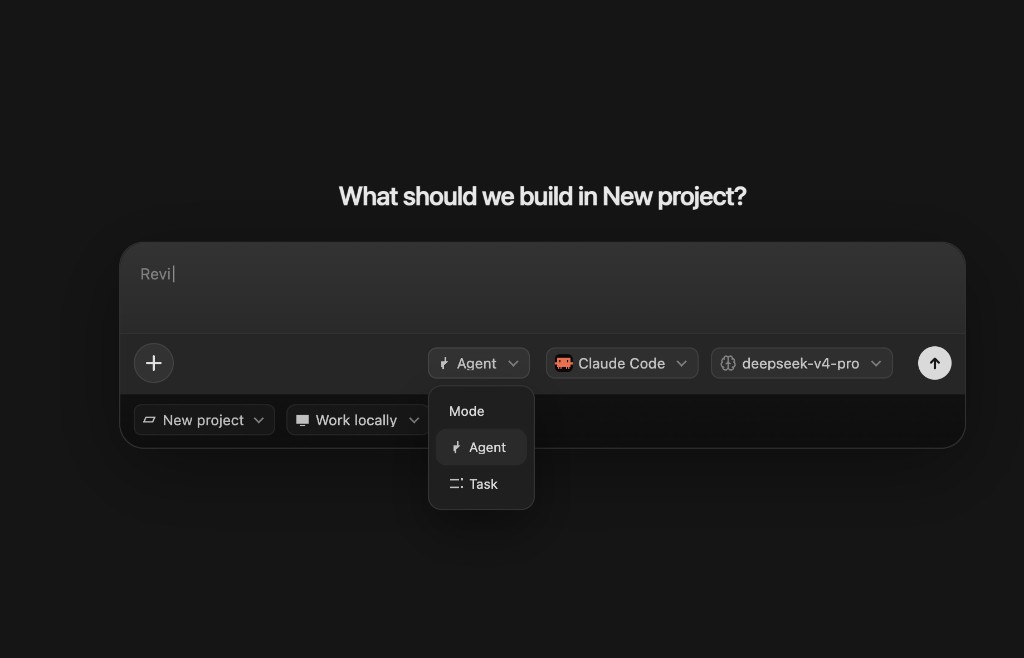
Open the Mode selector and choose Agent or Task.
Agent mode
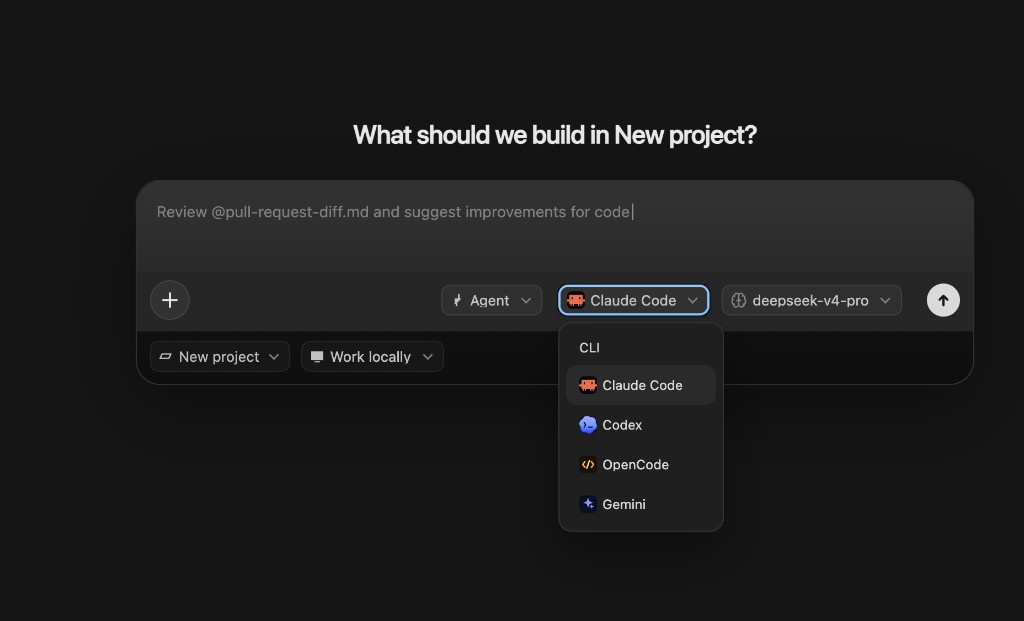
Agent mode works like a traditional IDE chat: you drive the conversation, pick a CLI such as Claude Code, Codex, OpenCode, or Gemini, and choose the model for that session.
Task mode
Task mode is for autonomous delivery. You submit a requirement, and CyOps Desktop runs the work with less mid-run intervention.
You can leave the strategy on Auto, so the AI picks a completion strategy (loop) for you.
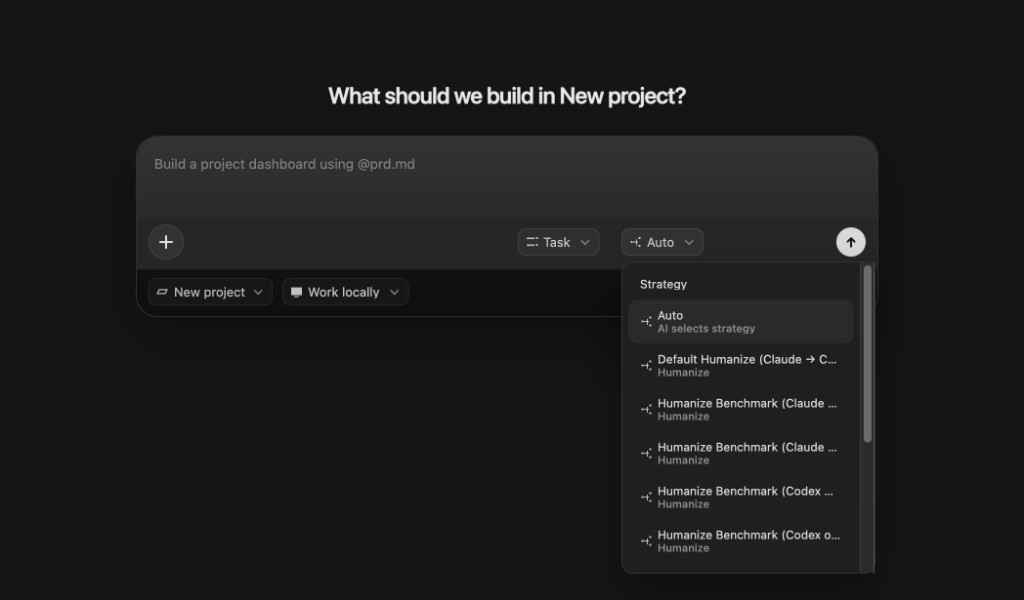
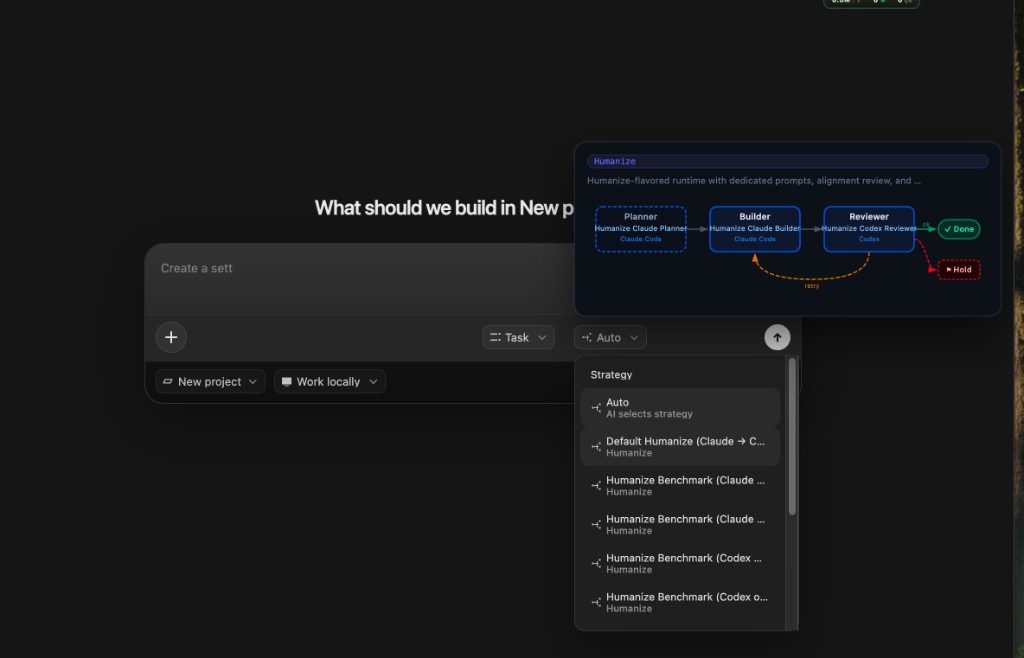
You can also pick a specific strategy yourself. Hovering a strategy shows its execution loop, for example Planner → Builder → Reviewer with retry paths.
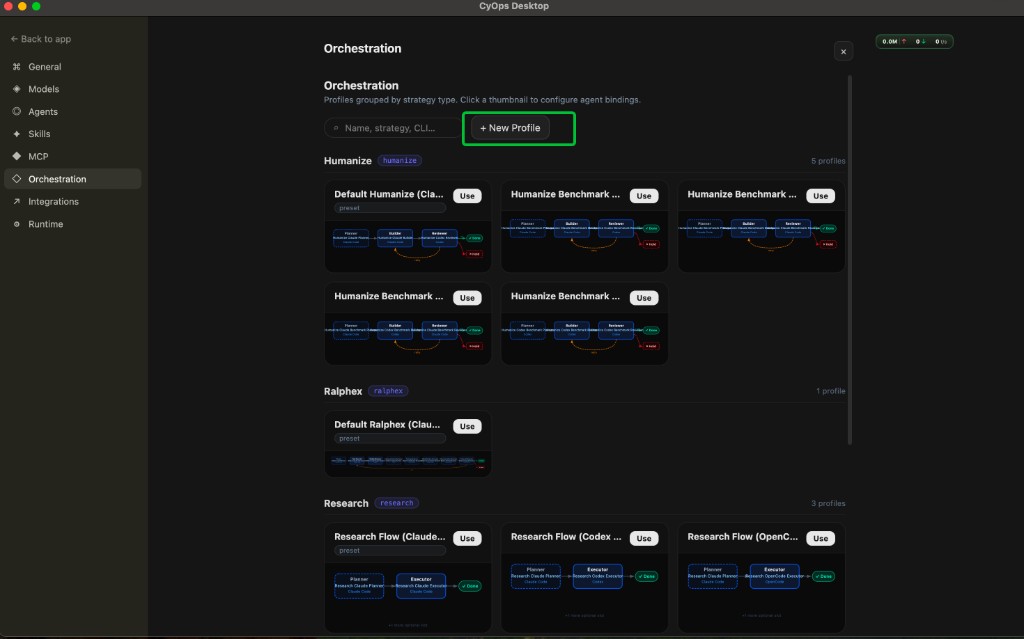
To create your own strategy, open Settings → Orchestration and click + New Profile.
Step 3. Submit a requirement
Type your requirement in the input box, then click the send button to start. You can attach context with + when needed.